

Setting up Mailmodo with Pepipost SMTP
Last updated December 24, 2023
You can either use Mailmodo SMTP or Pepipost SMTP for sending emails to your contacts. In this article, we will provide detailed steps on how to configure a new Sender ID using Pepipost SMTP.
Before you begin, please ensure the following pre-requisites:
Pre-Requisites
- Make sure you have already configured a sender email address for your Pepipost account. For steps on how to add sender email address in Pepipost, click here .
- Make sure you have admin access for your Pepipost account. If you don't have the right permissions, then please work with your Pepipost account administrator to get the required access or work with them to configure the account.
Detailed Steps
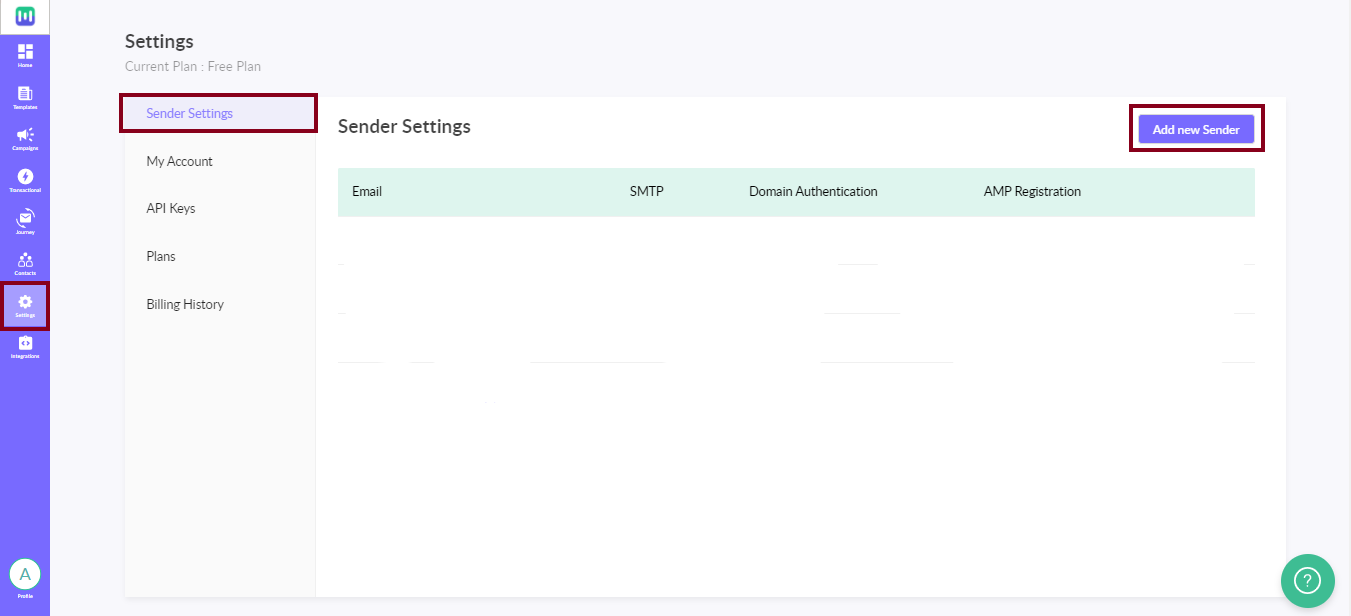
Step 1: Login to your Mailmodo account. Go to the Settings page. Select Sender Settings and click Add New Sender.
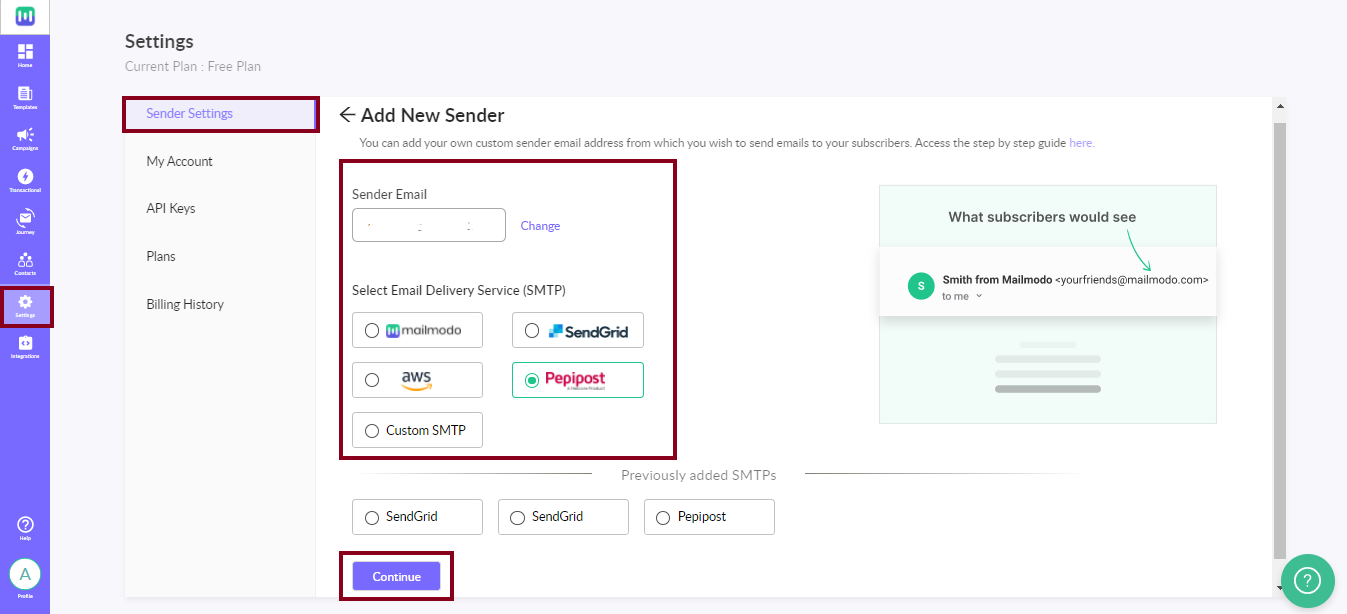
Step 2: Add a Sender Email, and choose Pepipost from the list of available SMTPs. Click ‘Continue’
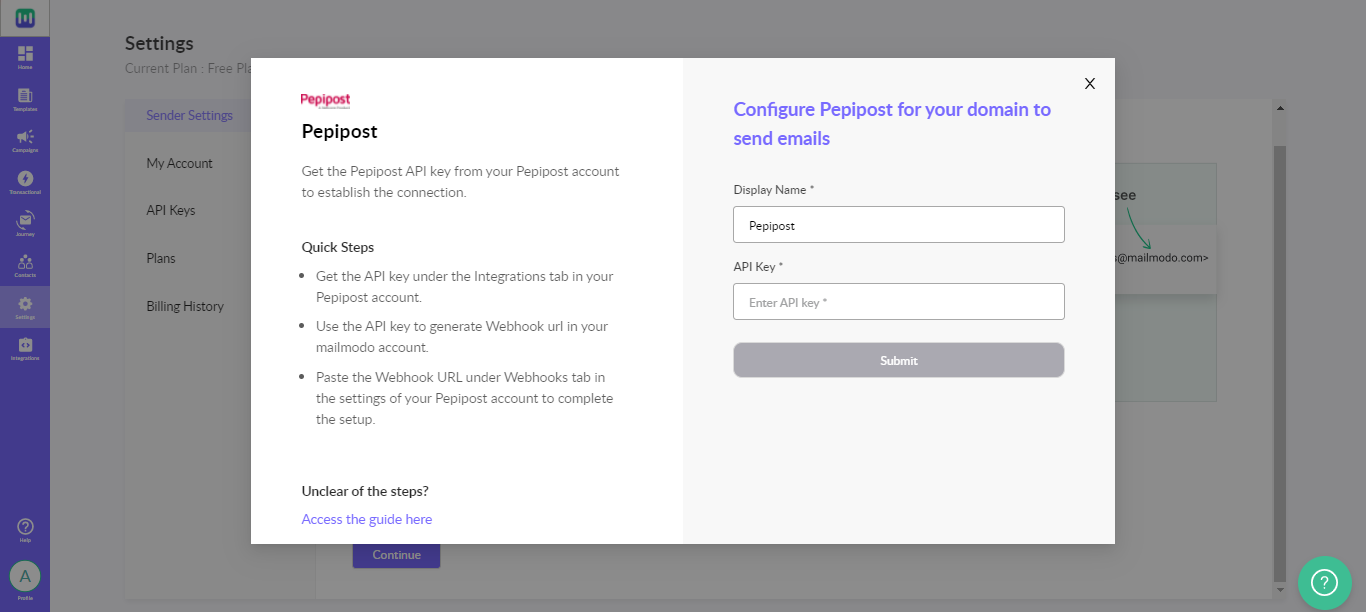
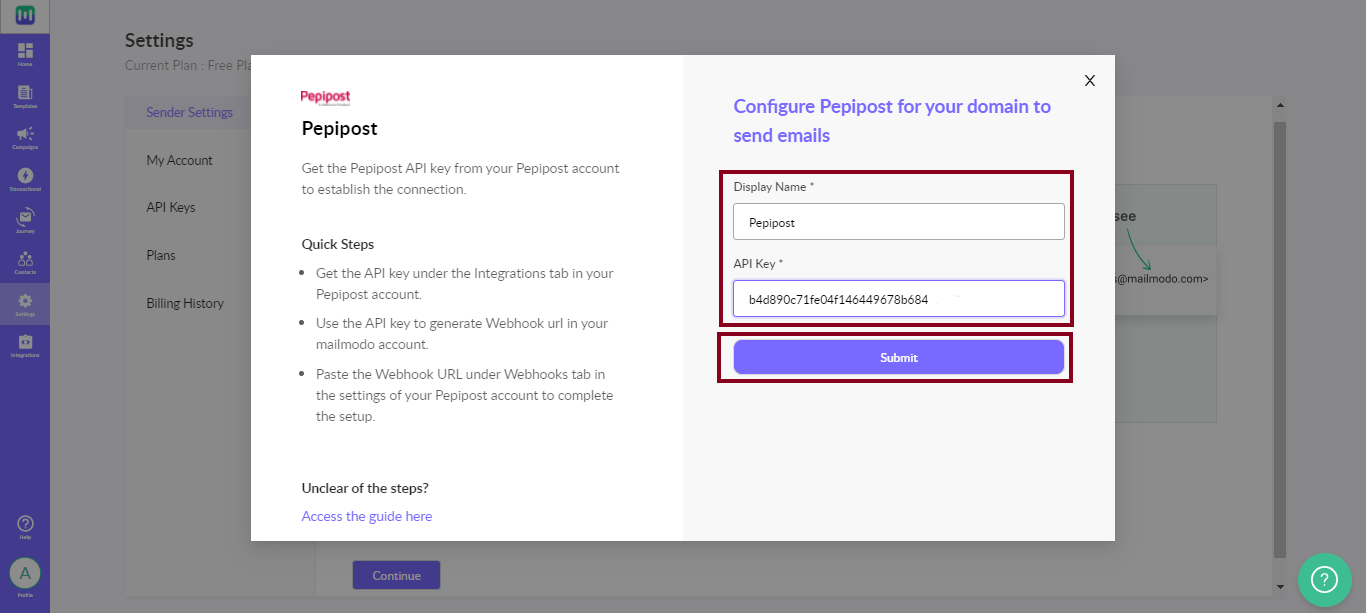
Step 3: A dialogue box would appear where you need to enter the display name and API key from your Pepipost account.
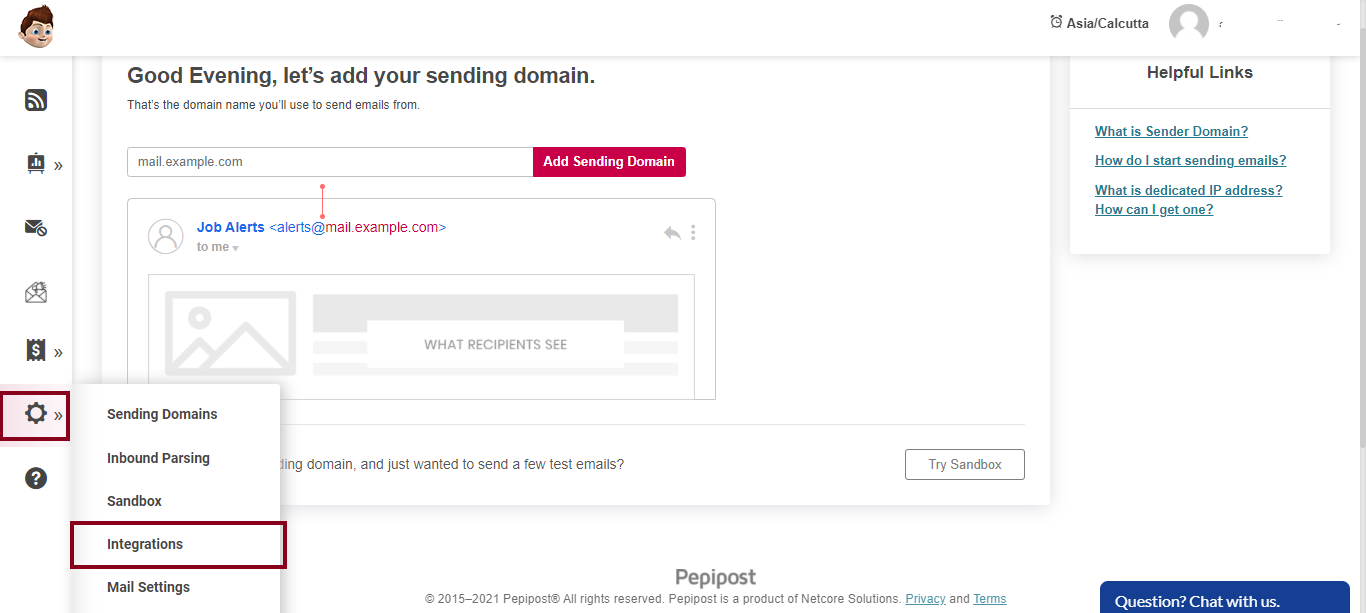
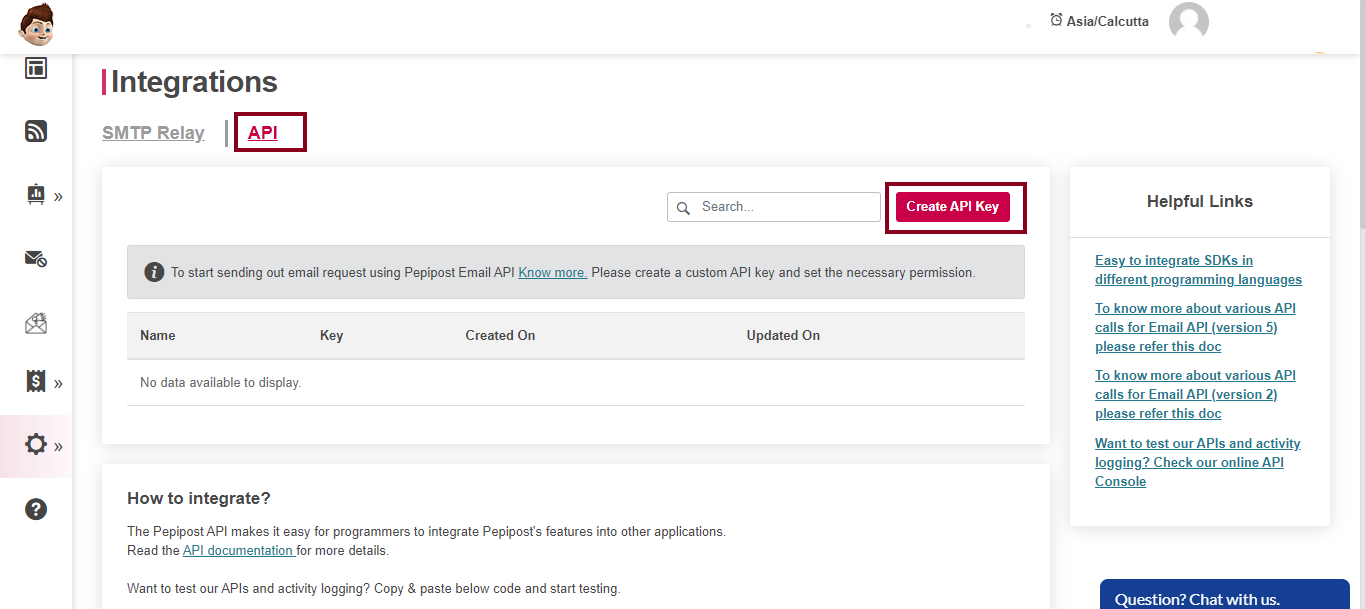
Step 4: Open your Pepipost account . Go to ‘Integrations’ under Settings.
Step 5: In the ‘Integrations’ page, go to the ‘API’ tab.
Click the ‘Create API Key’ button
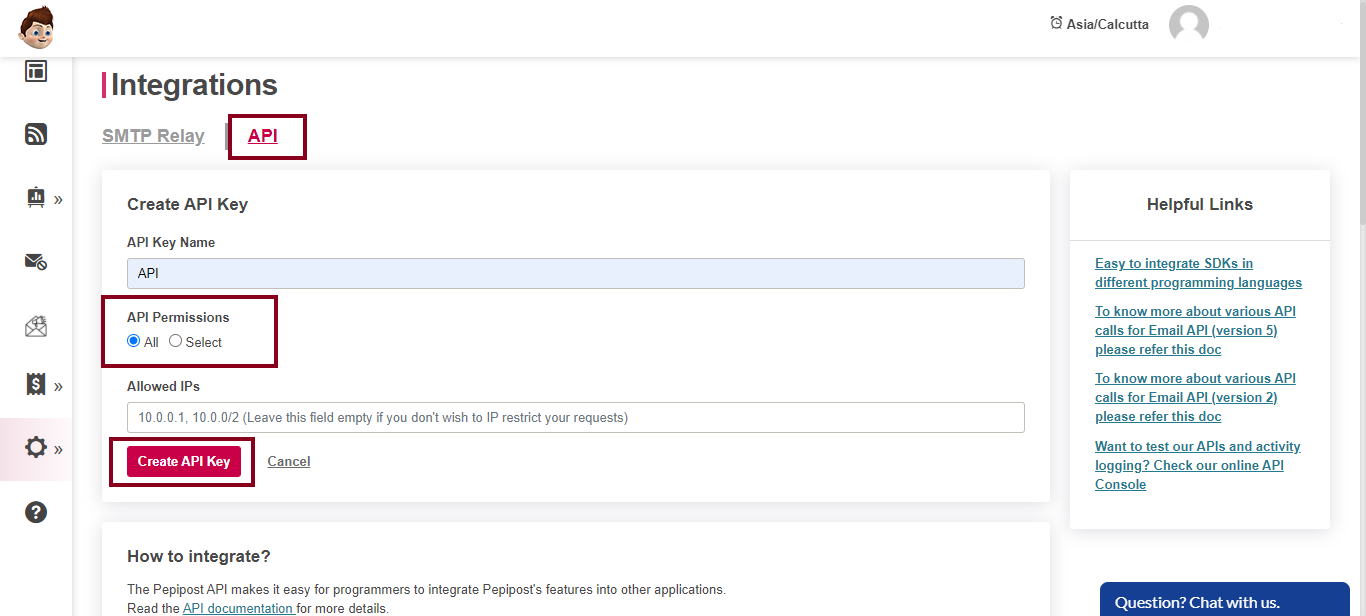
Step 6: Enter API Key Name and select ‘All’ for API permissions. Then, click the Create API Key button.
Step 7: Copy the generated API key and paste it into the Mailmodo dialogue box. Click on ‘Submit’ to complete the process
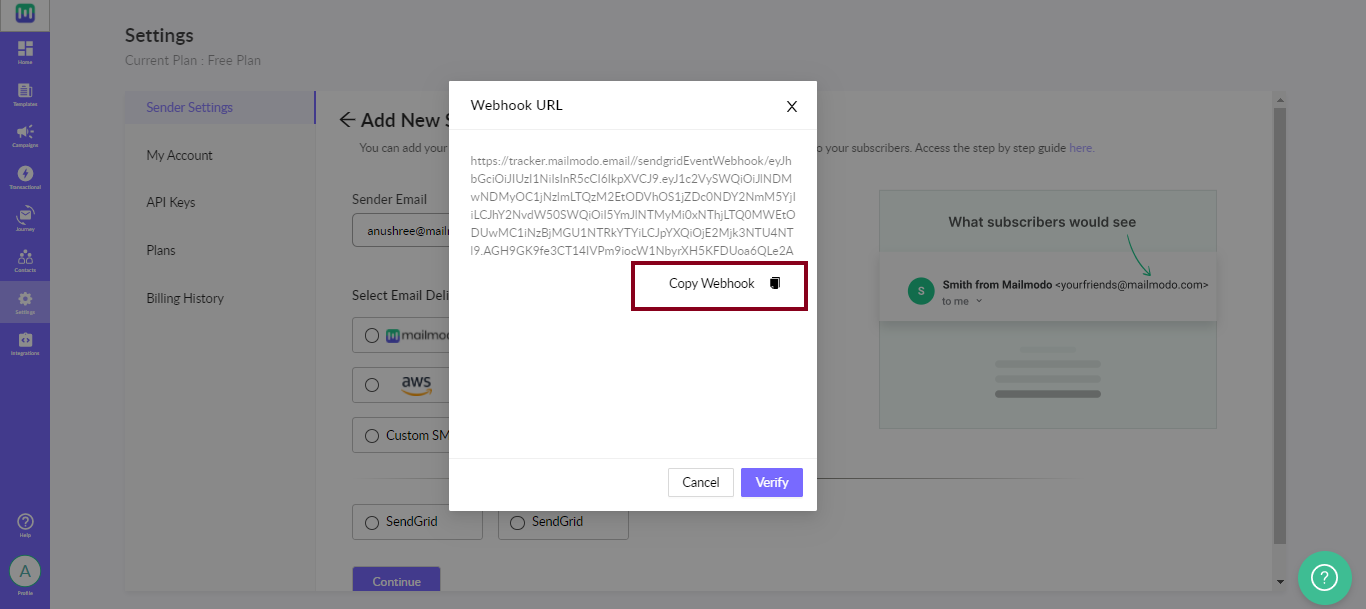
Step 8: A Webhook URL would be generated on the dialogue box. Copy the Webhook URL.
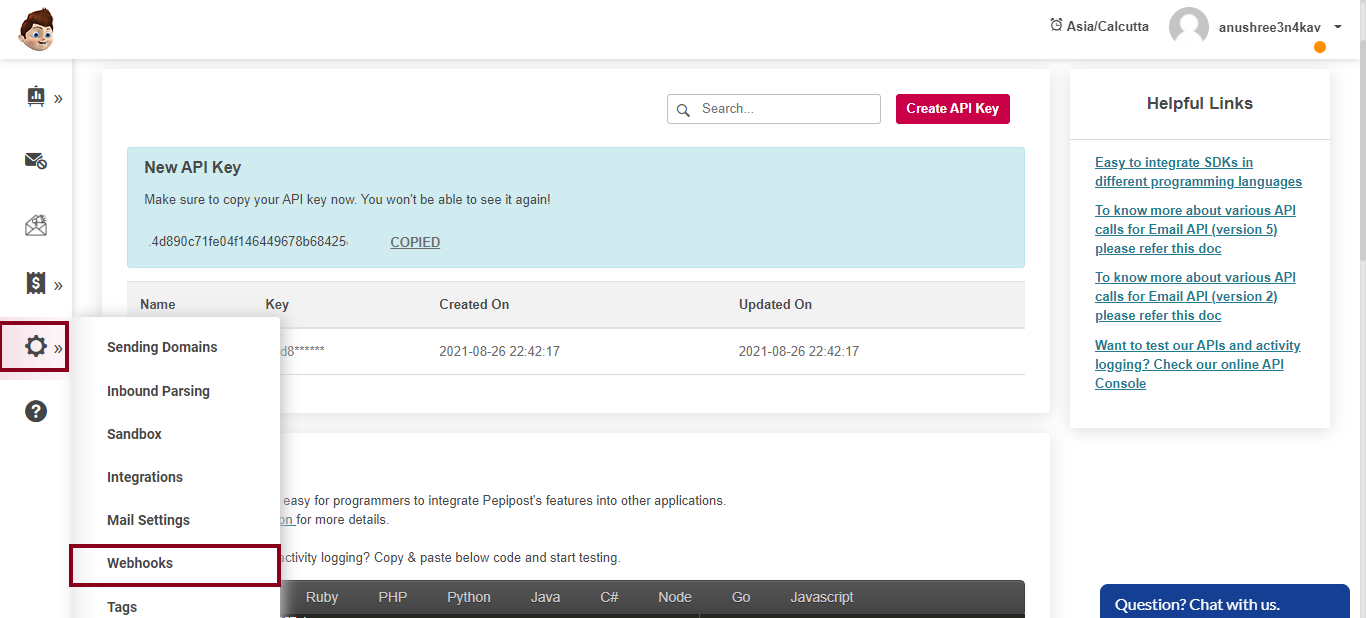
Step 9: In your Pepipost account, go to ‘Webhooks’ under Settings.
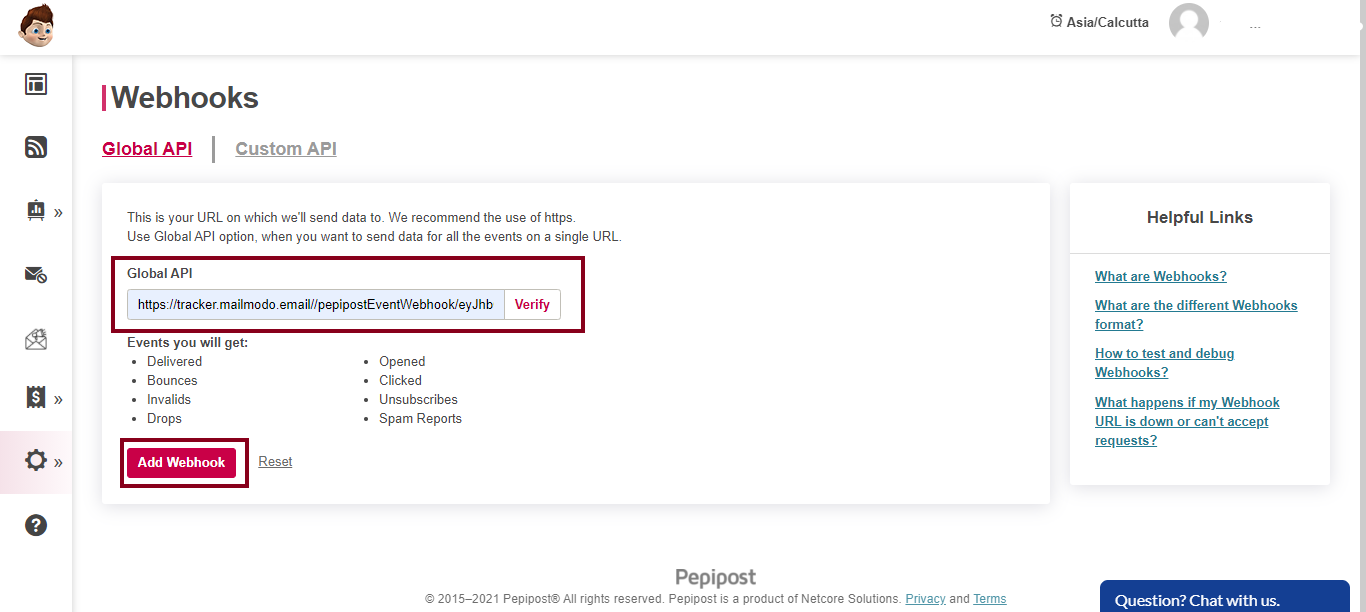
Step 10: Paste the Webhook URL and verify. Then, click Add Webhook
Step 11: Verify the Webhook URL in Mailmodo. Mailmodo is successfully integrated with Pepipost SMTP.
For verification, we will send an email to check that your email address is properly configured. If any error is detected, then you would not be able to use that sender email (until errors are resolved).